14 days free. No card required.
Start for free today
Nine steps, about fifteen minutes, and you're taking bookings. Here's exactly what setting up your shop looks like.
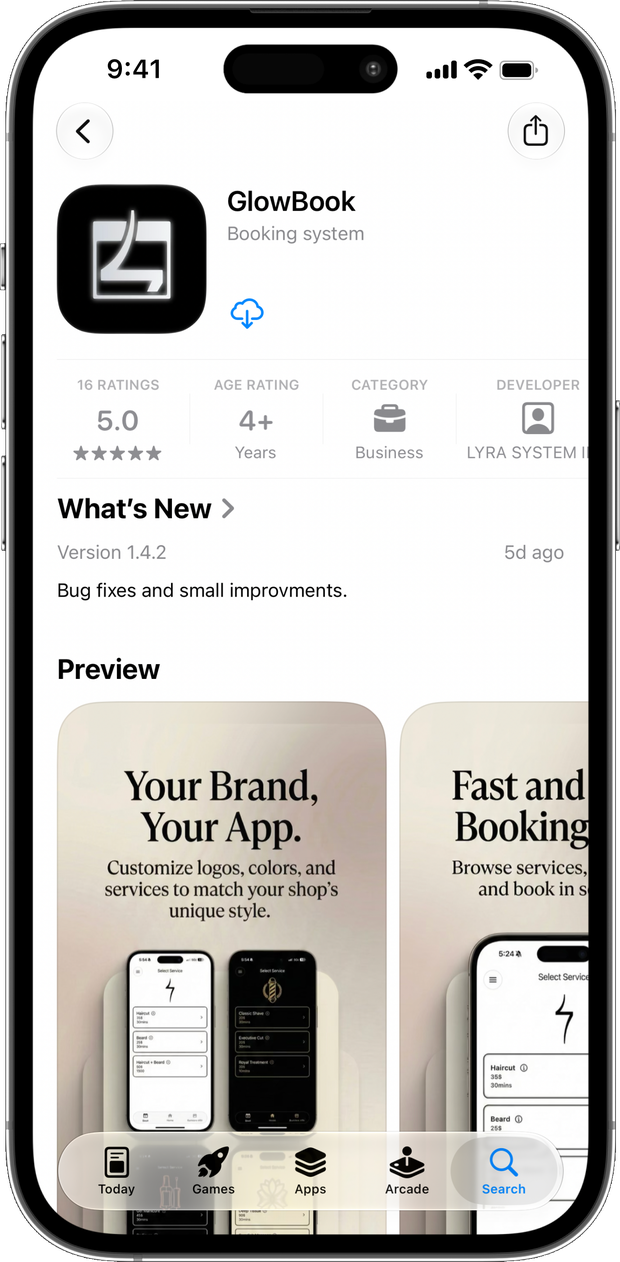 Screenshot: App Store listing
Register your business
Open the app and tap Register your business. That one tap starts your shop.
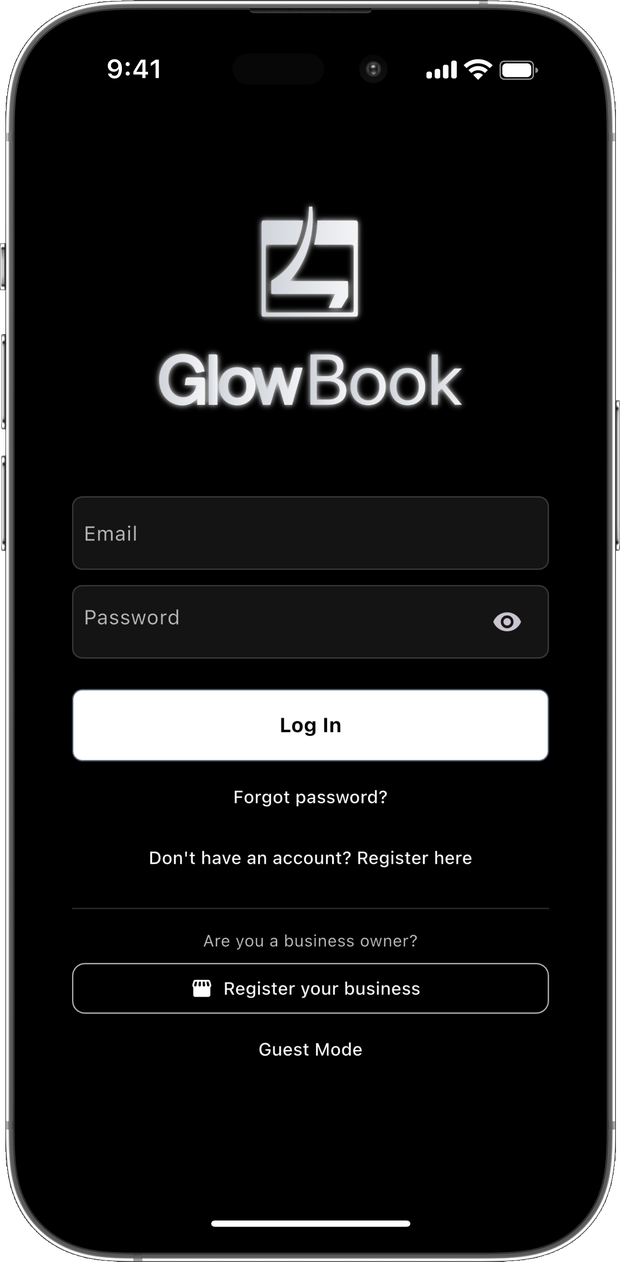 Screenshot: Register your business
Choose your business type
Independent or Shop. This shapes the rest of your setup, so pick what fits how you work.
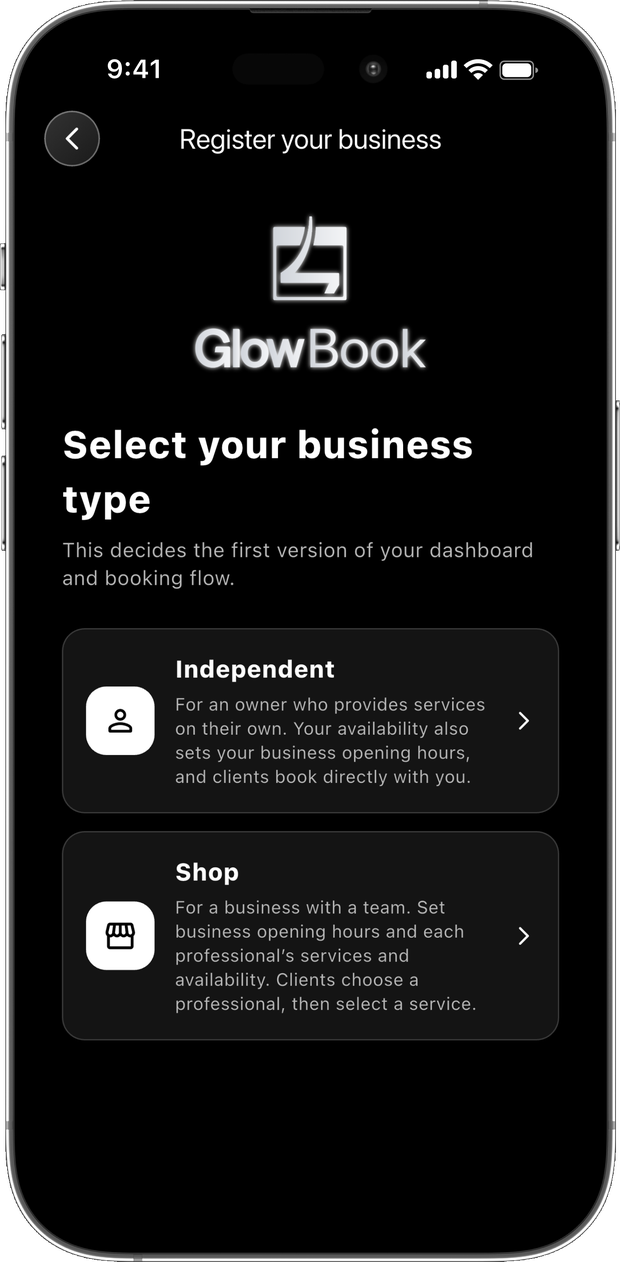 Screenshot: Business type selection
Set up your brand
Upload your logo and GlowBook builds your colours, app icon and booking page around it. You see the result straight away in your booking preview.
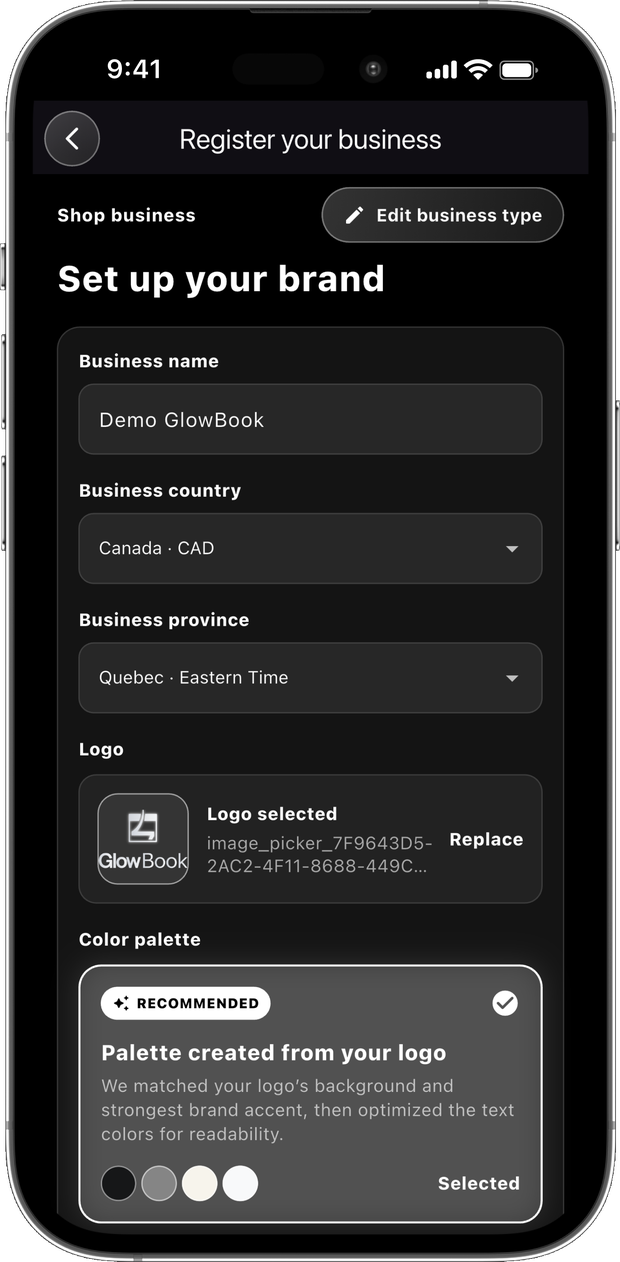
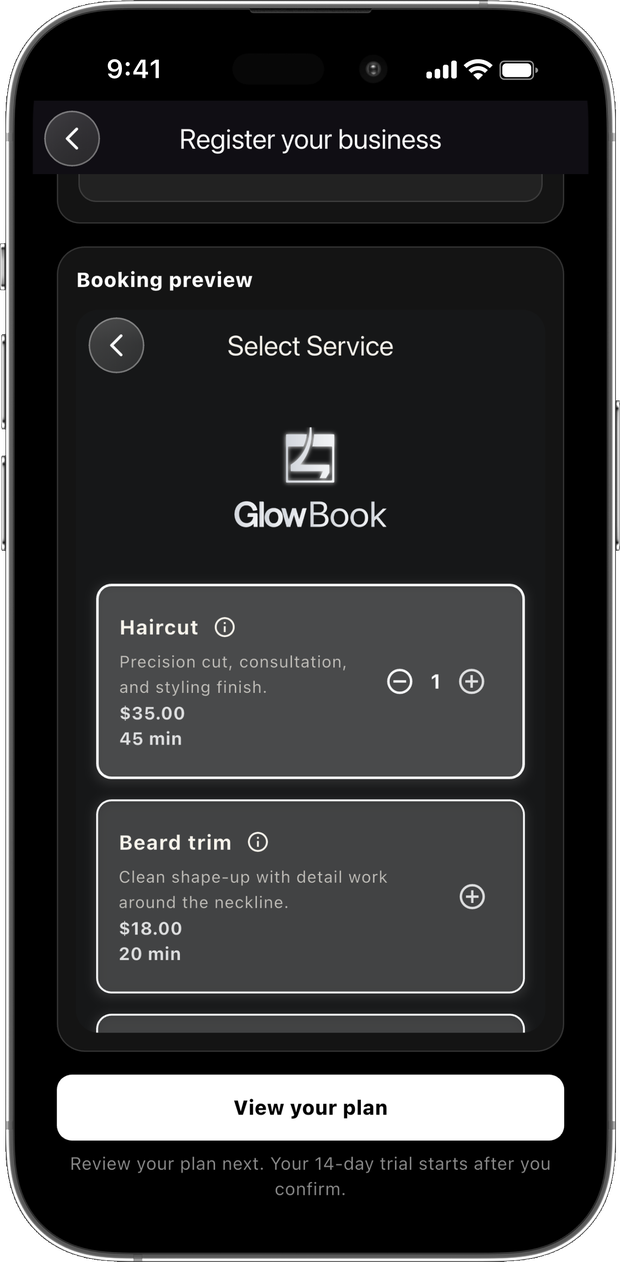 Screenshot: Brand setup with logo and colours
Create your account
Your name, email and a password. Takes under a minute and it is the last form you fill.
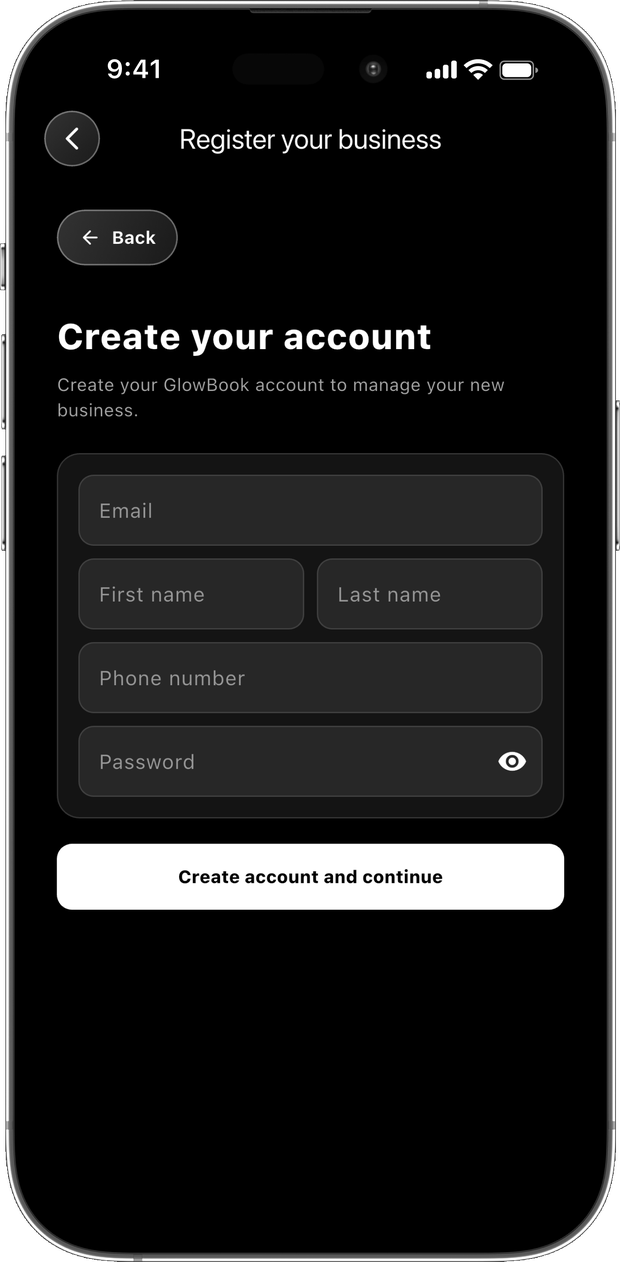 Screenshot: Create your account
Confirm your plan
Your plan is matched to the business type you picked. Start the 14-day trial with nothing charged today.
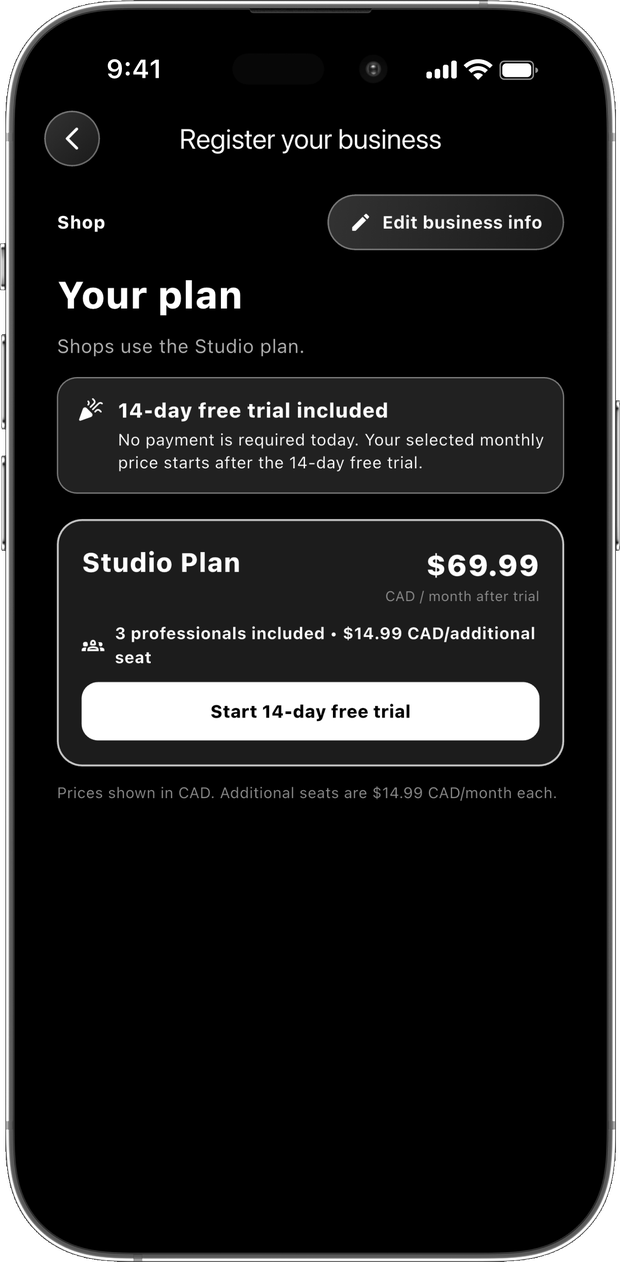 Screenshot: Your plan
Walk through
GlowBook walks you through everything left to do so nothing gets missed.
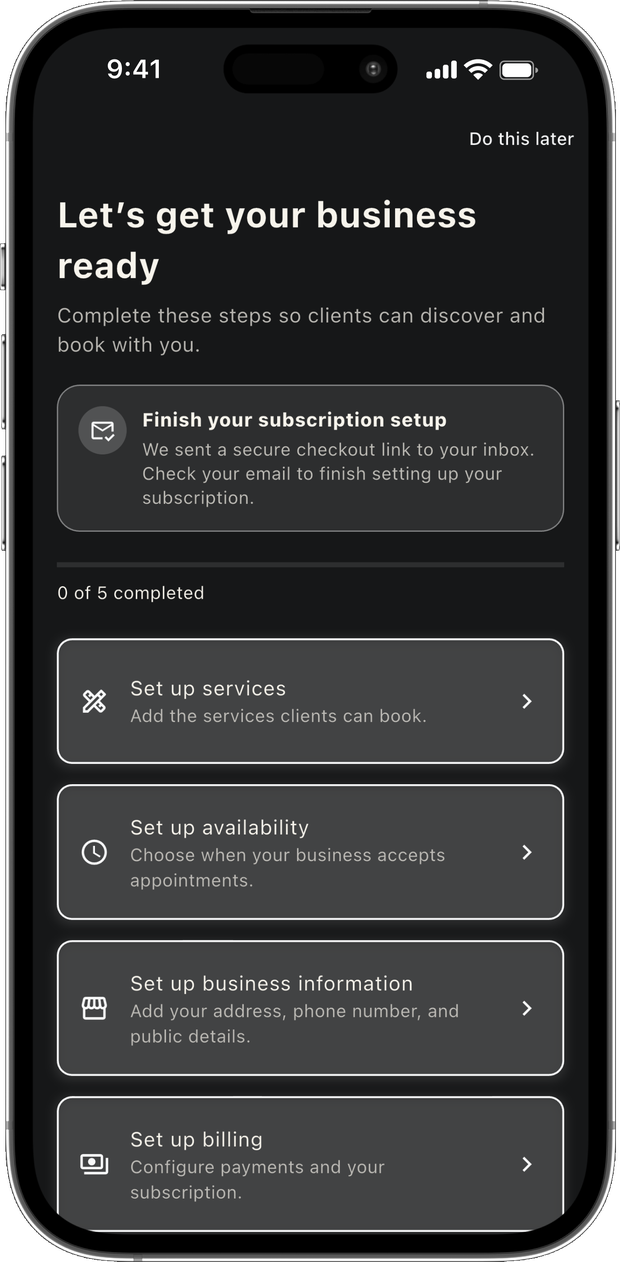 Screenshot: Setup checklist
Confirm subscription through email
Check your inbox and confirm your billing setup. Your free trial goes live the moment you do.
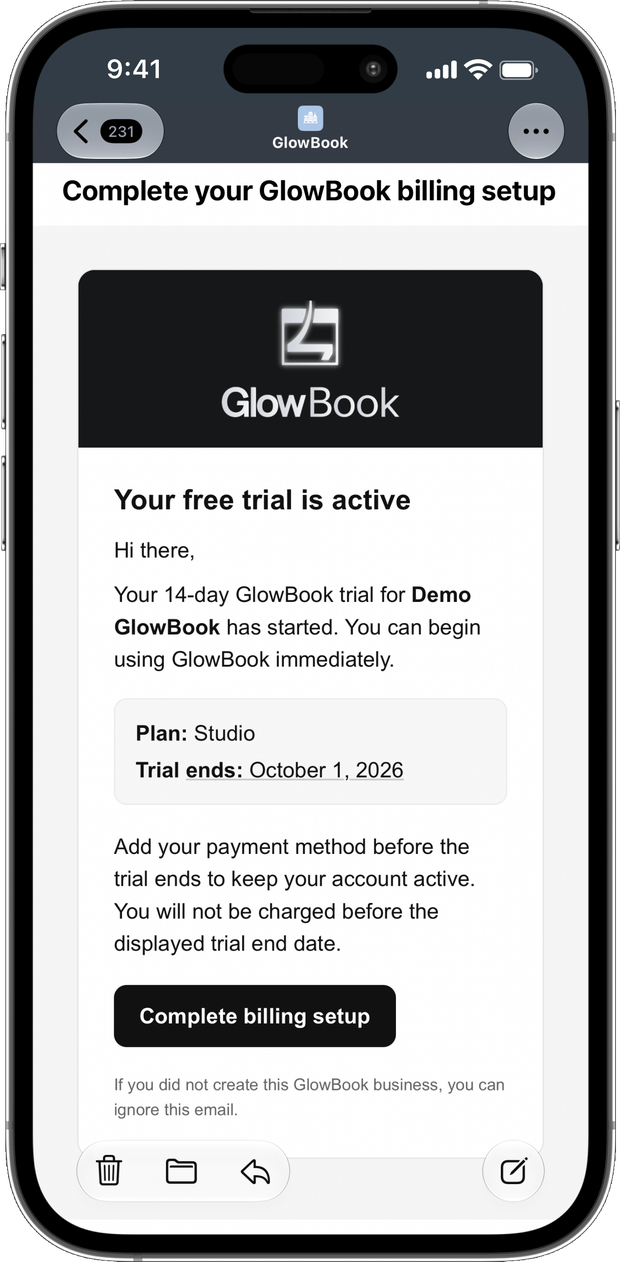 Screenshot: Subscription confirmation email
Share your booking link
Your dashboard is live. Send the link to your clients and start taking bookings.
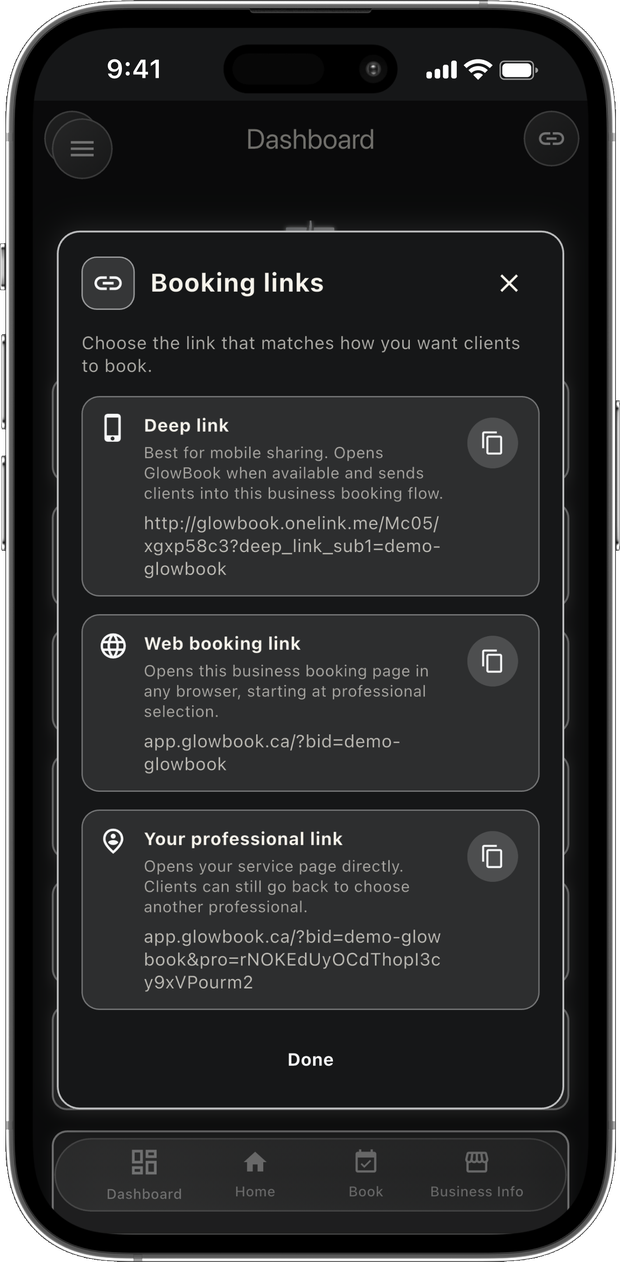 Screenshot: Dashboard with booking link